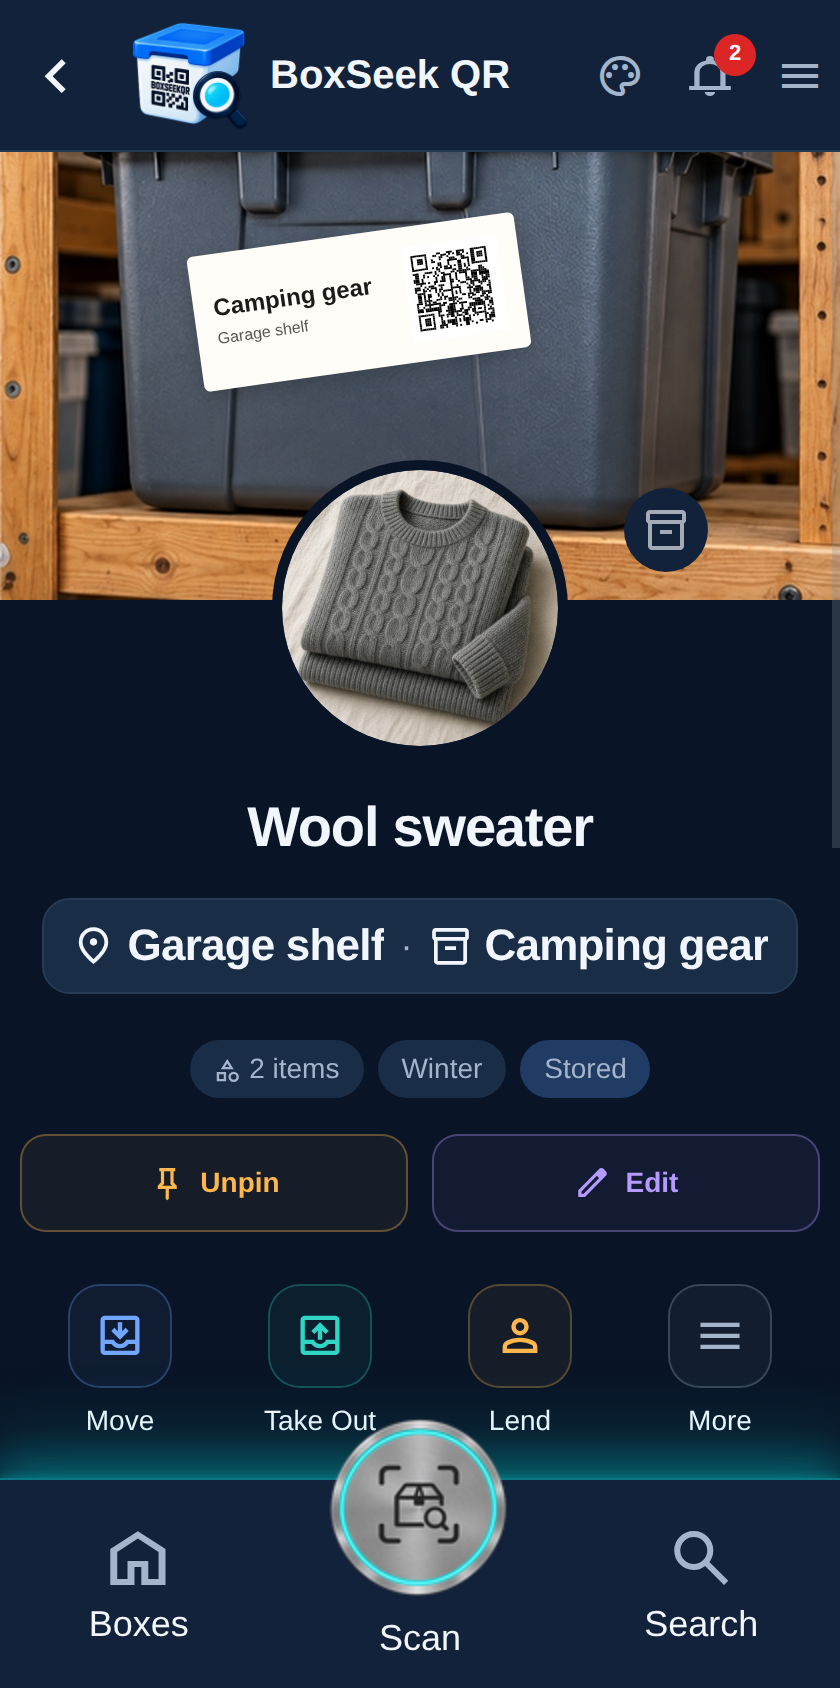
Step 1
Move vs Take out vs Lend
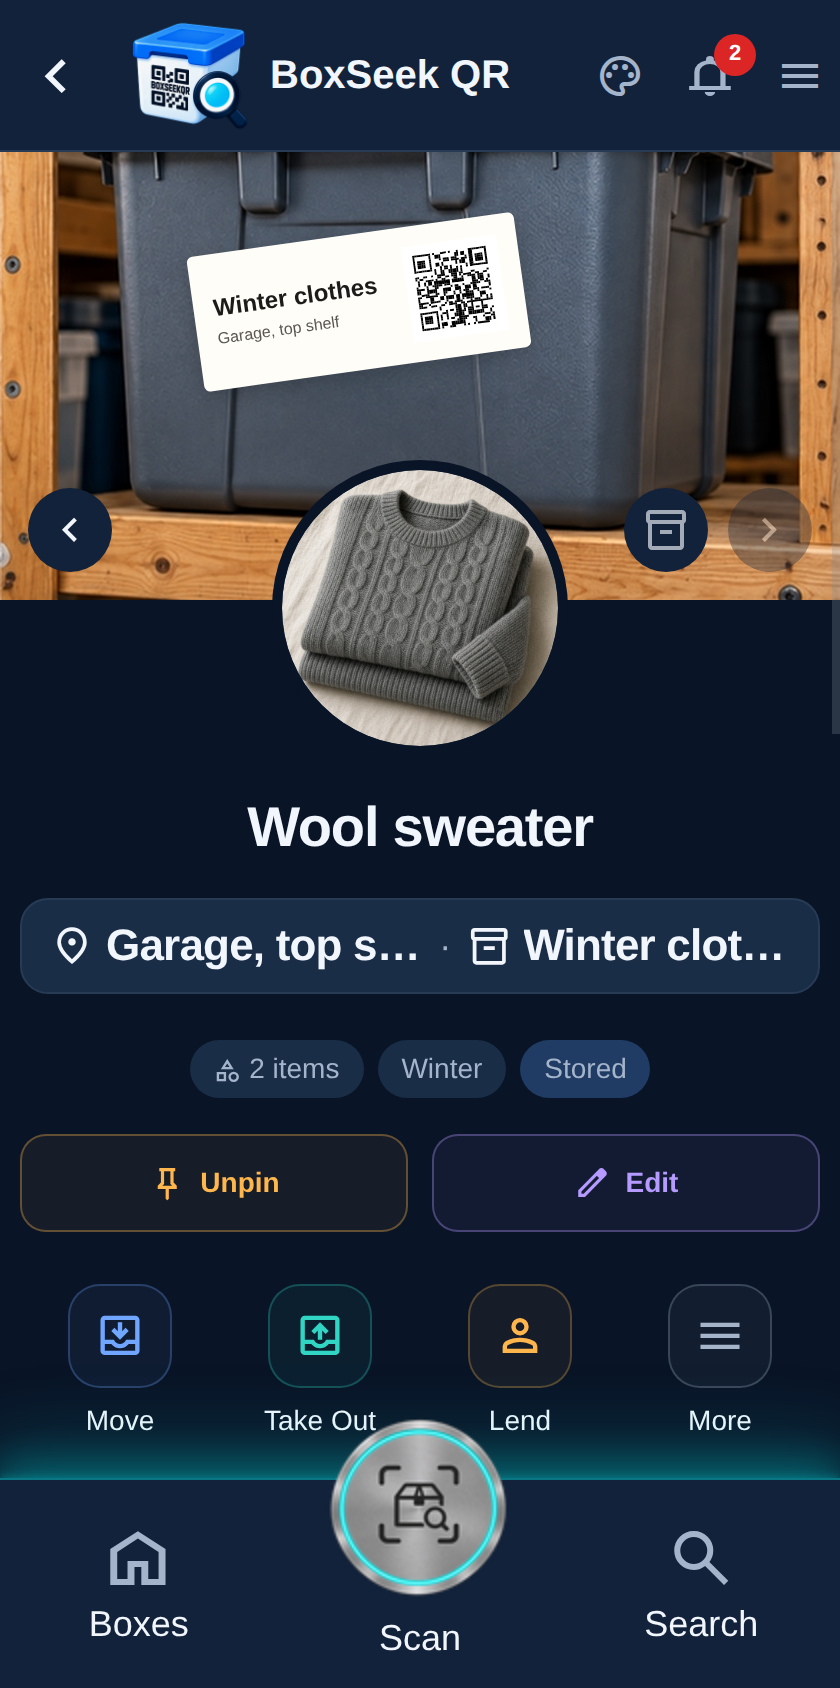
On a stored item, three actions sit together: Move (different box), Take out (off the shelf, no borrower), and Lend (someone has it). Pick the one that matches what happened in the real world.
 BoxSeek QR
Tutorial
Tutorial 07
Belongings change boxes, leave the shelf, and come back. Move updates which box holds an item. Take out marks it removed from storage. Put back restores it when it returns.
On a stored item, three actions sit together: Move (different box), Take out (off the shelf, no borrower), and Lend (someone has it). Pick the one that matches what happened in the real world.
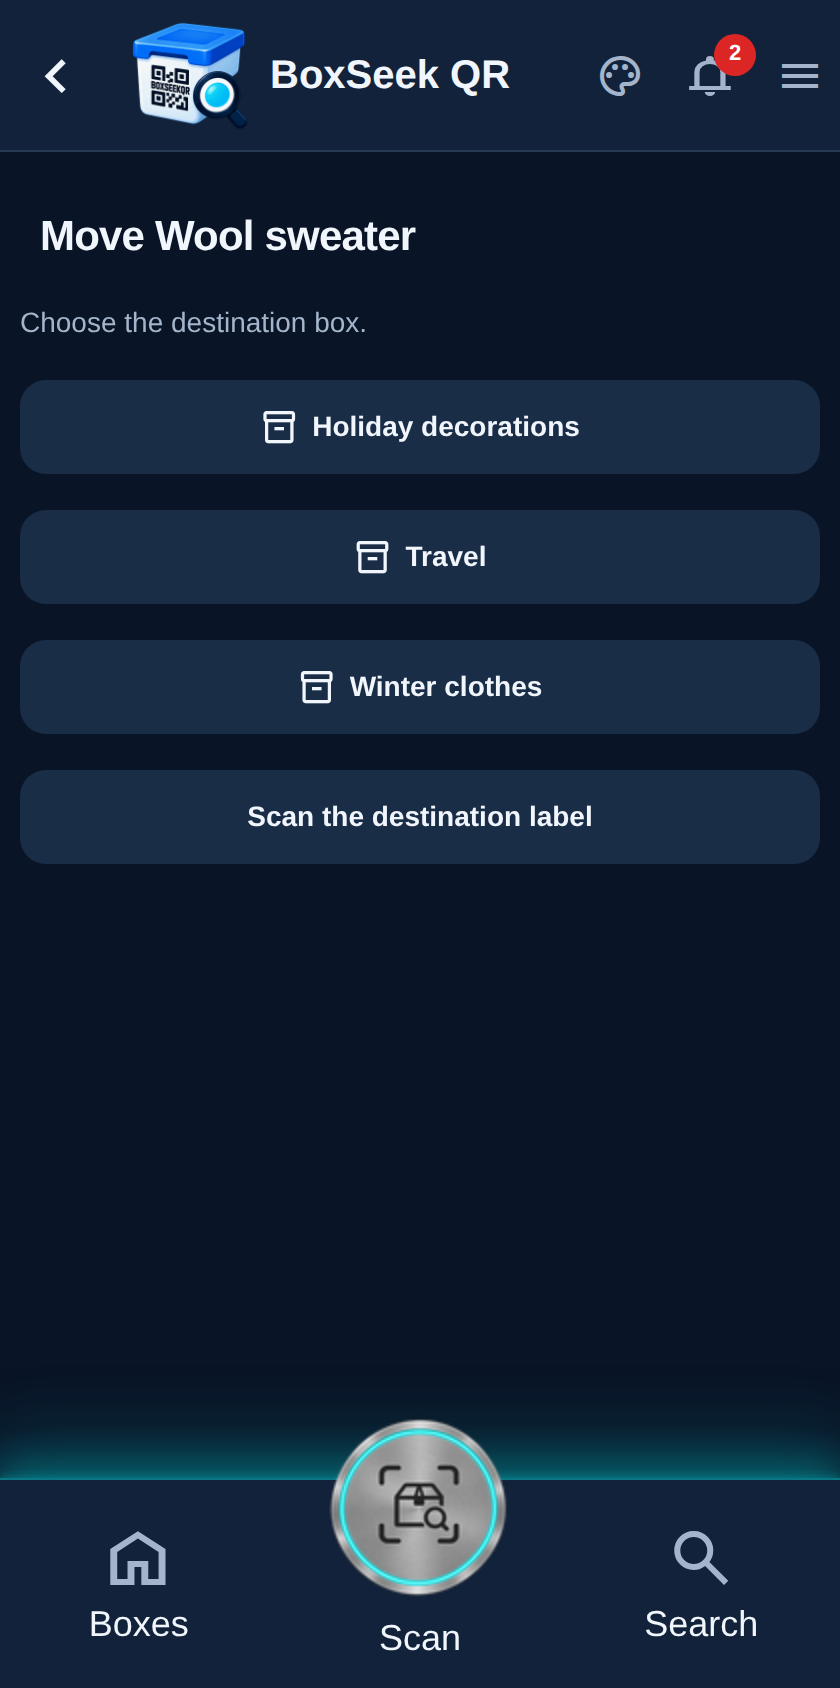
Tap Move. Pick another box by name, or use Scan the destination label if that box already has a QR sticker. Here we send Wool sweater to Winter clothes.
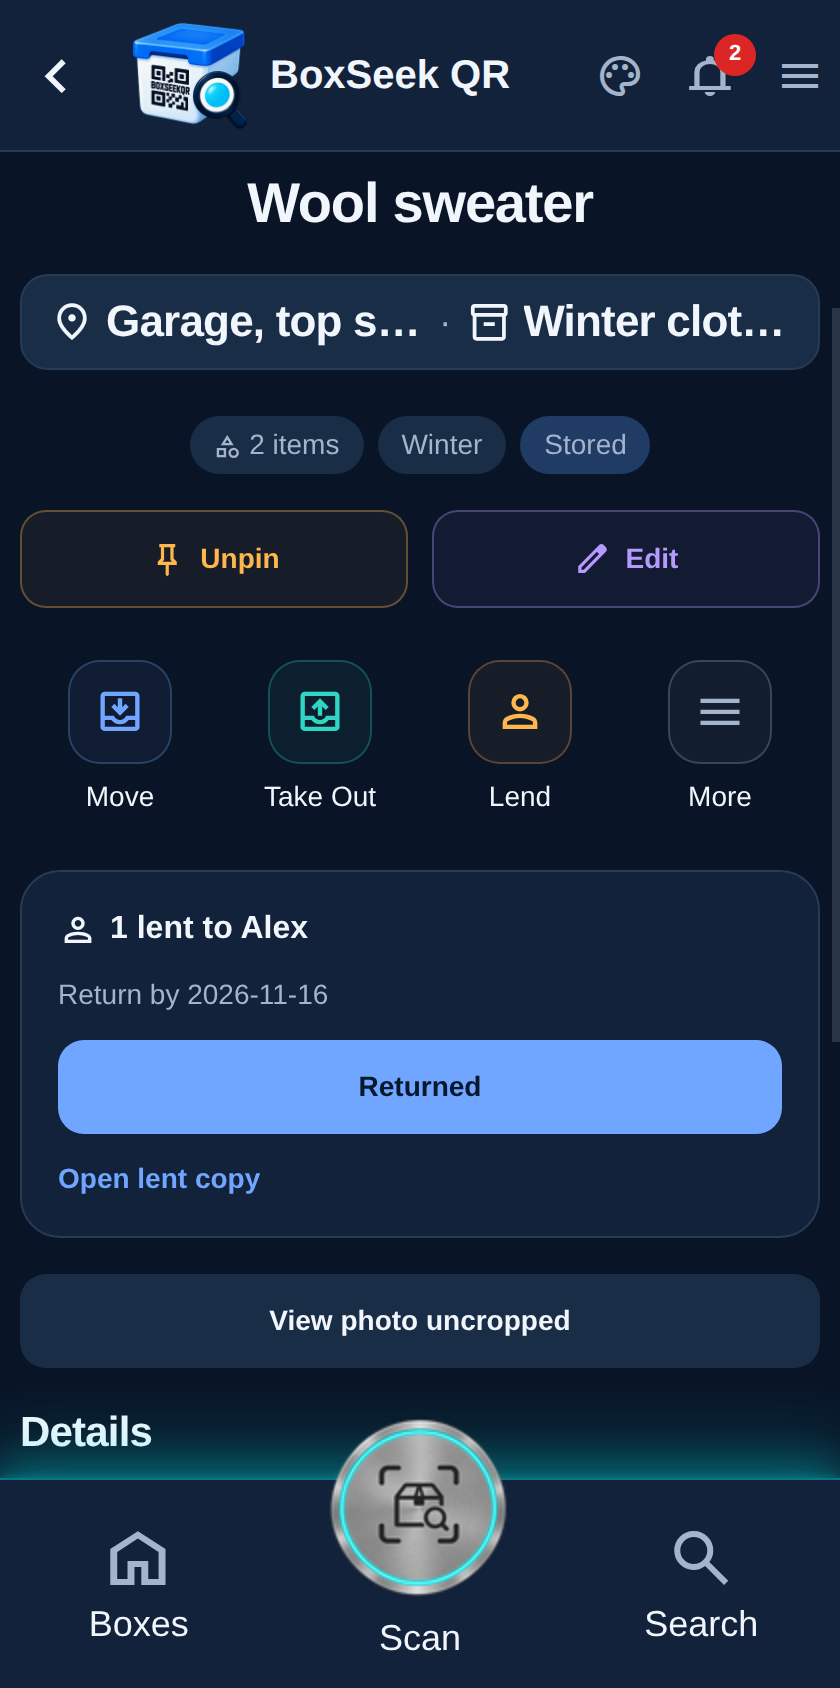
The item is the same record—only its box and place change. It now shows Winter clothes and Garage, top shelf. Photos, quantity, and details stay with it.
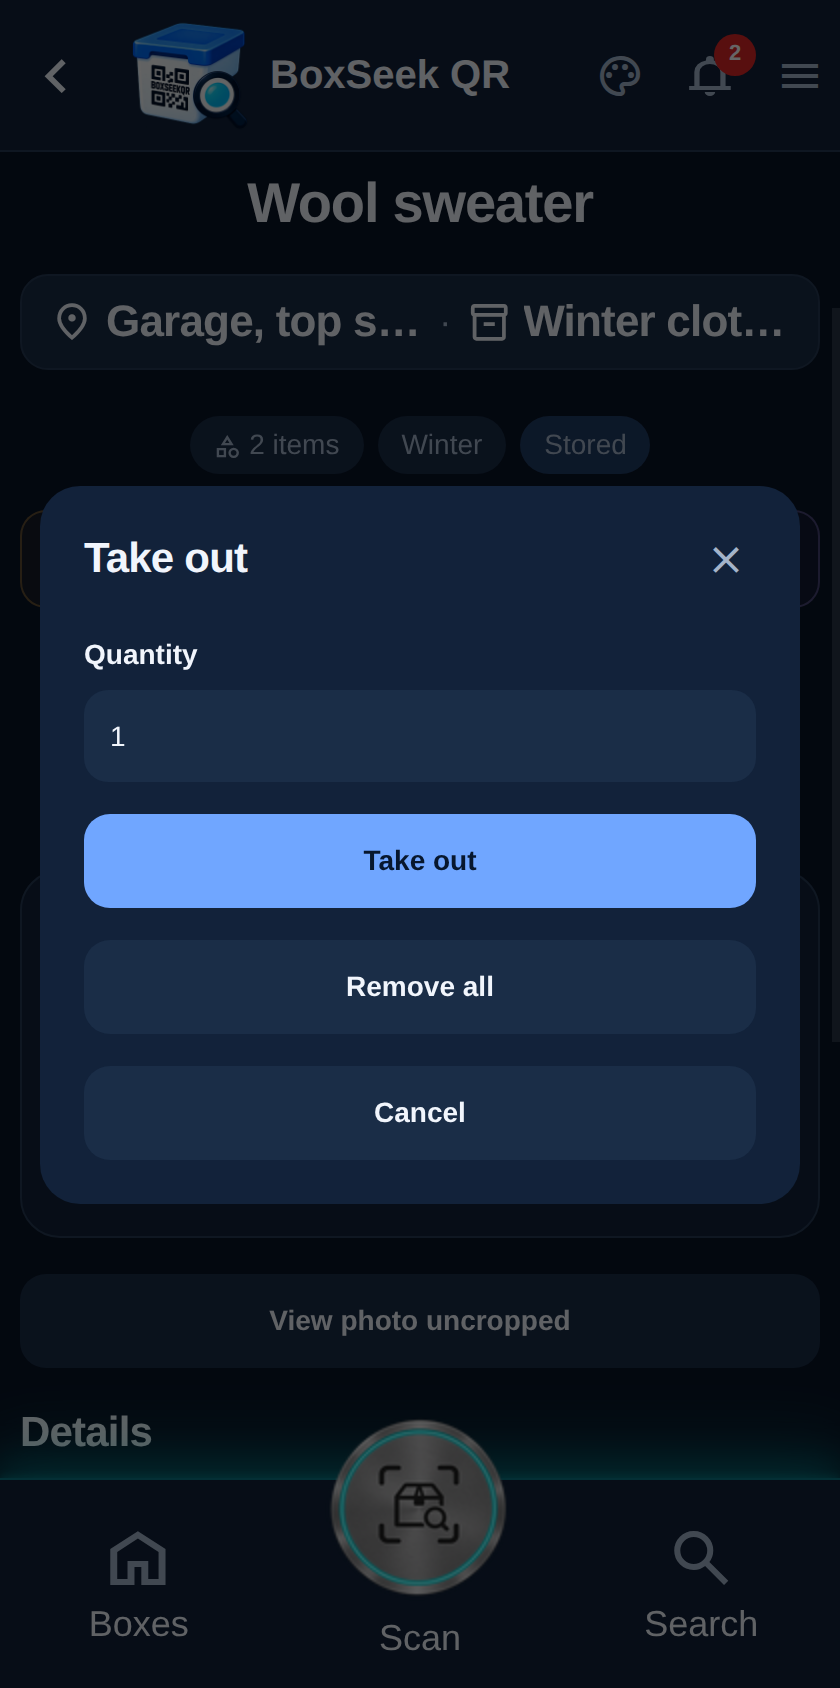
Tap Take out when something leaves storage without a borrower—used up, worn, or set aside. Set Quantity, or Remove all, then confirm. There is no “who” or return date; that is what Lend is for.
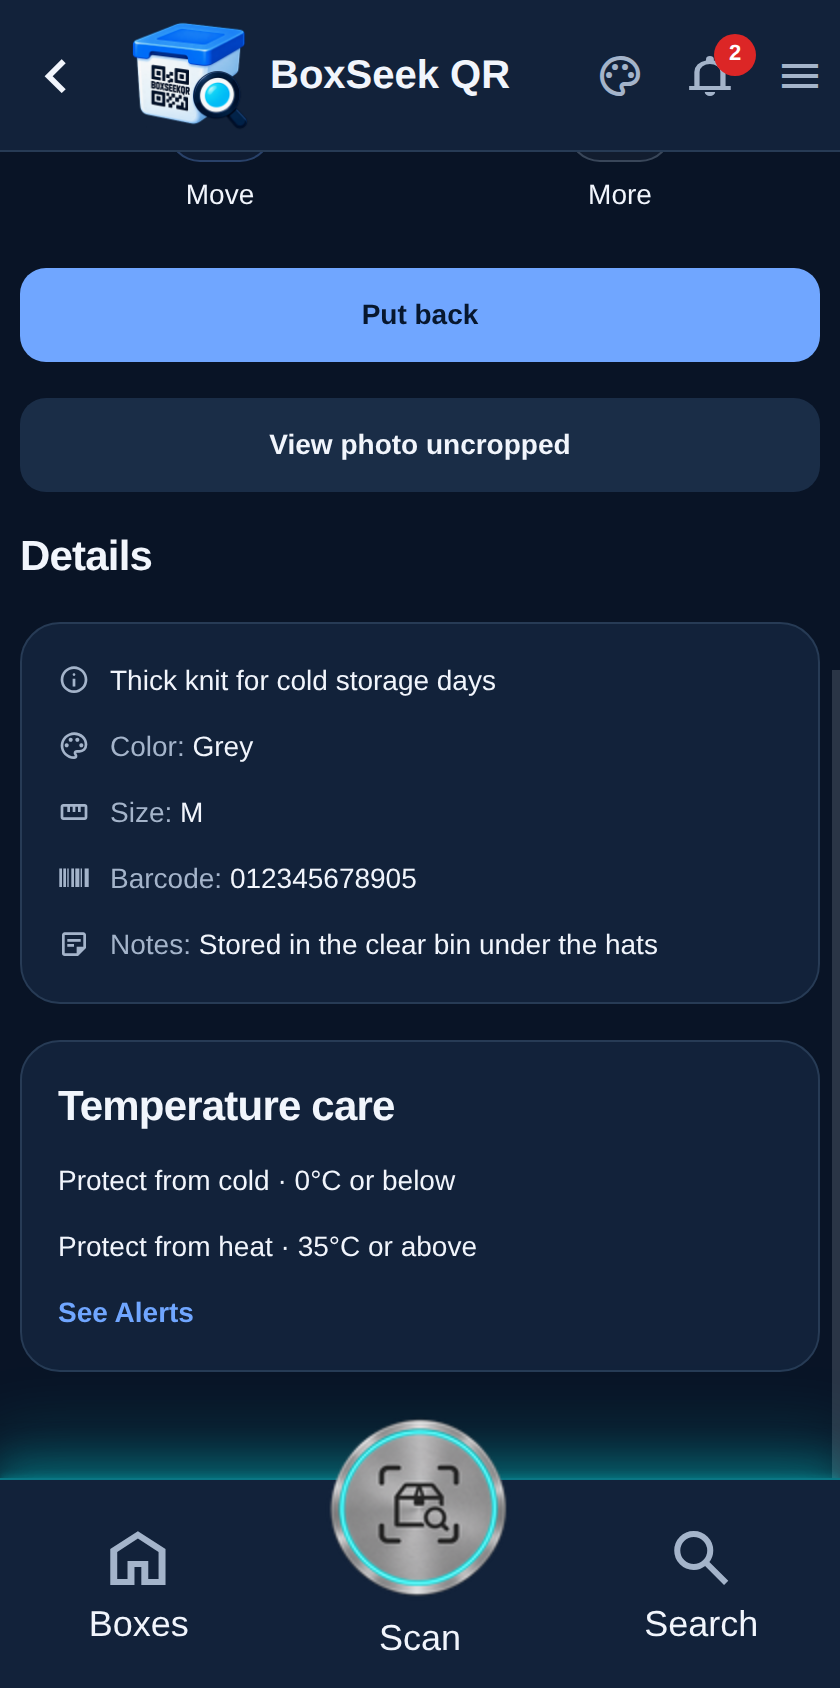
The item shows Removed with Put back. Everyday Search hides it unless you turn on Include removed. Keep the record so you can restore it later instead of re-adding from scratch.
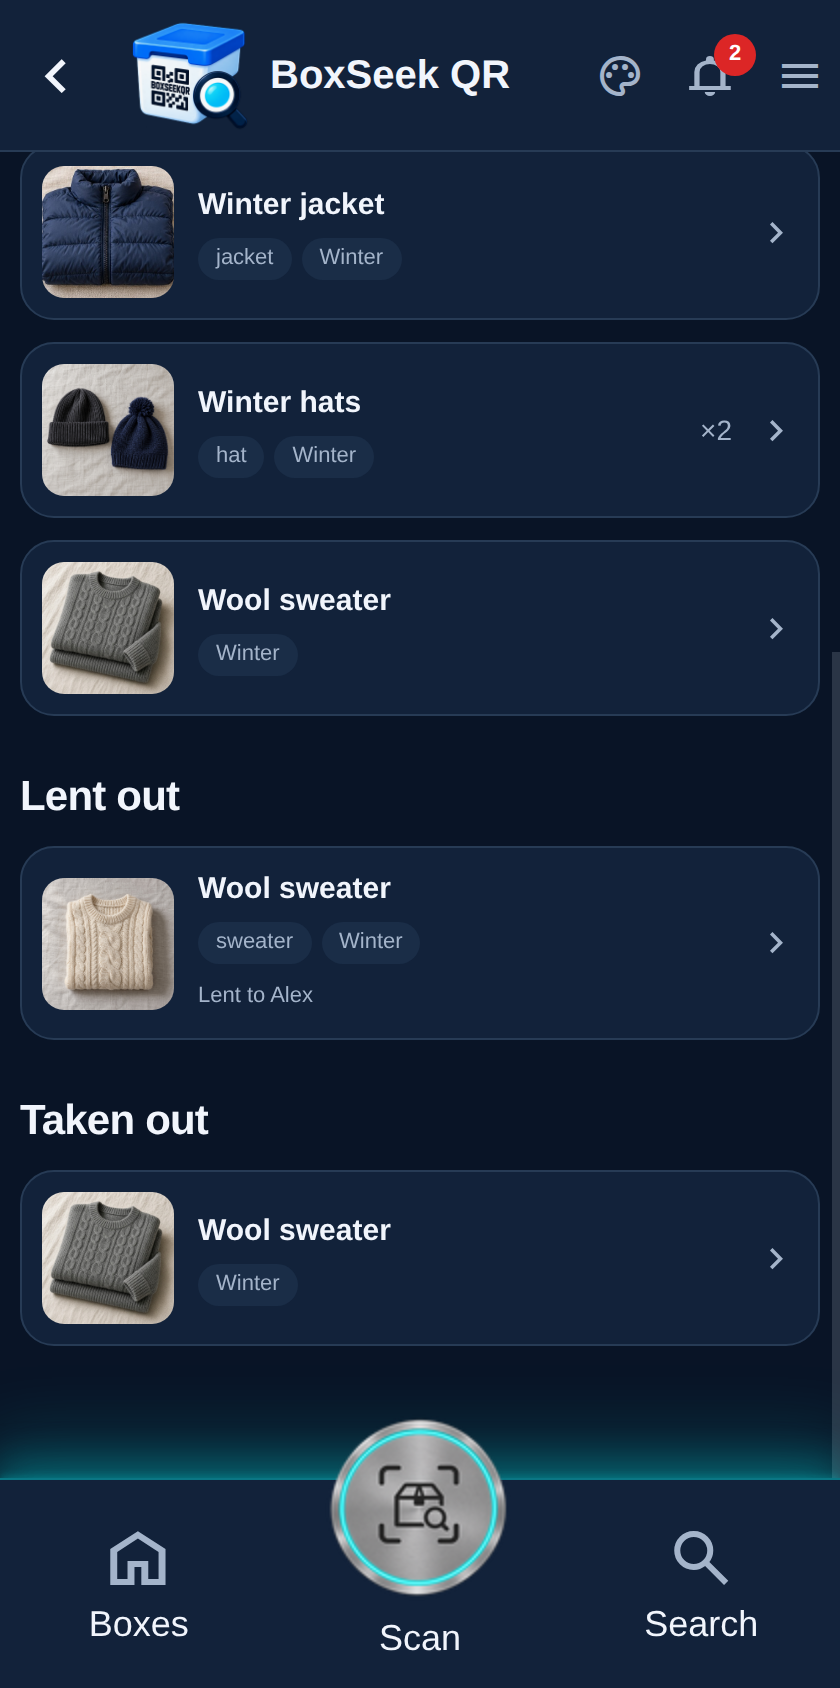
Open the box. Taken out lists removed items under the stored ones—same idea as Lent out—so one glance shows what left the shelf.
Open the taken-out item and tap Put back. It rejoins stored inventory in that box. If you only removed part of a stack, quantity merges with what was still stored.