Step 1
Find the box on Boxes
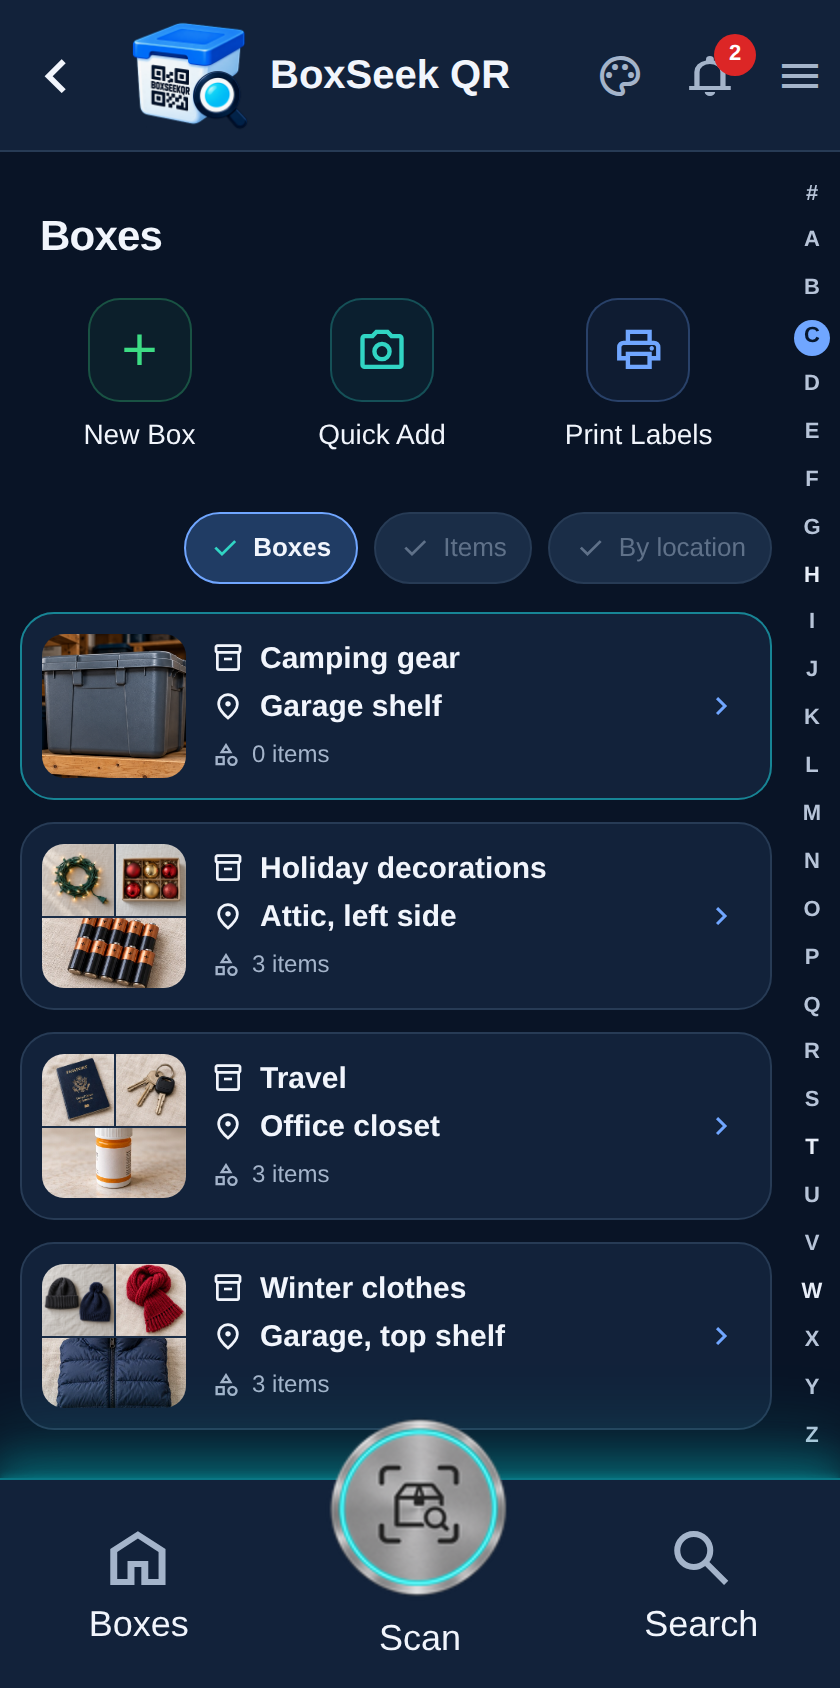
Open Boxes and find the box you want to fill. Here we use Camping gear from the Make a box tutorial.
 BoxSeek QR
Tutorial
Tutorial 02
Put one belonging on the list for a box you already have. This walkthrough opens Camping gear from the Make a box tutorial, takes a simple item photo (not Quick Add), then fills the optional fields for Wool sweater.
Open Boxes and find the box you want to fill. Here we use Camping gear from the Make a box tutorial.
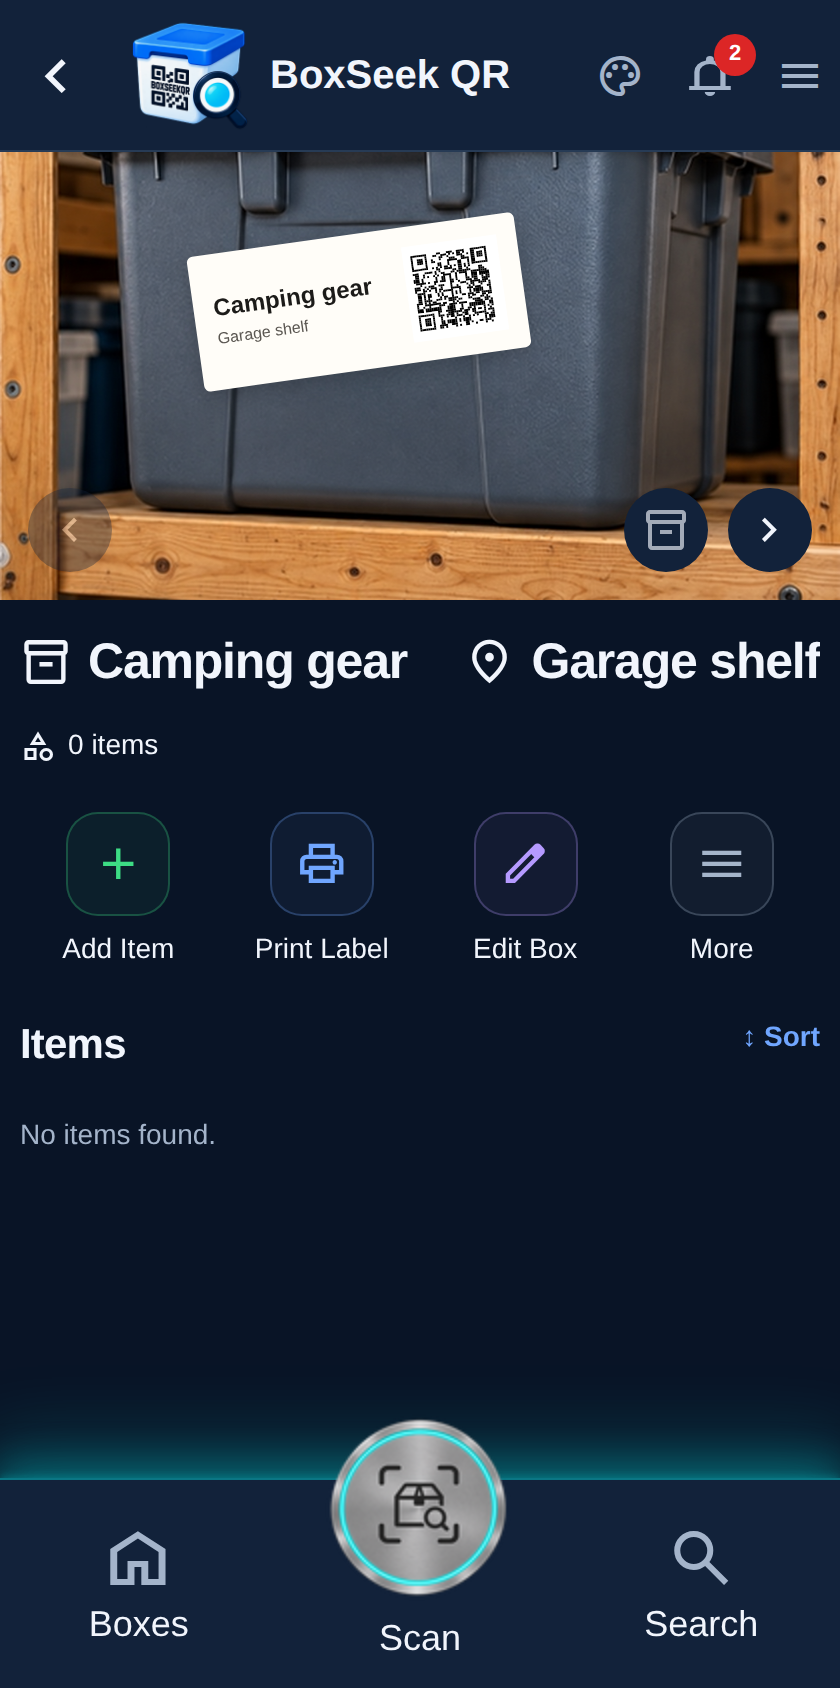
Tap the box row. You see its shelf label, contents, and actions including Add item.
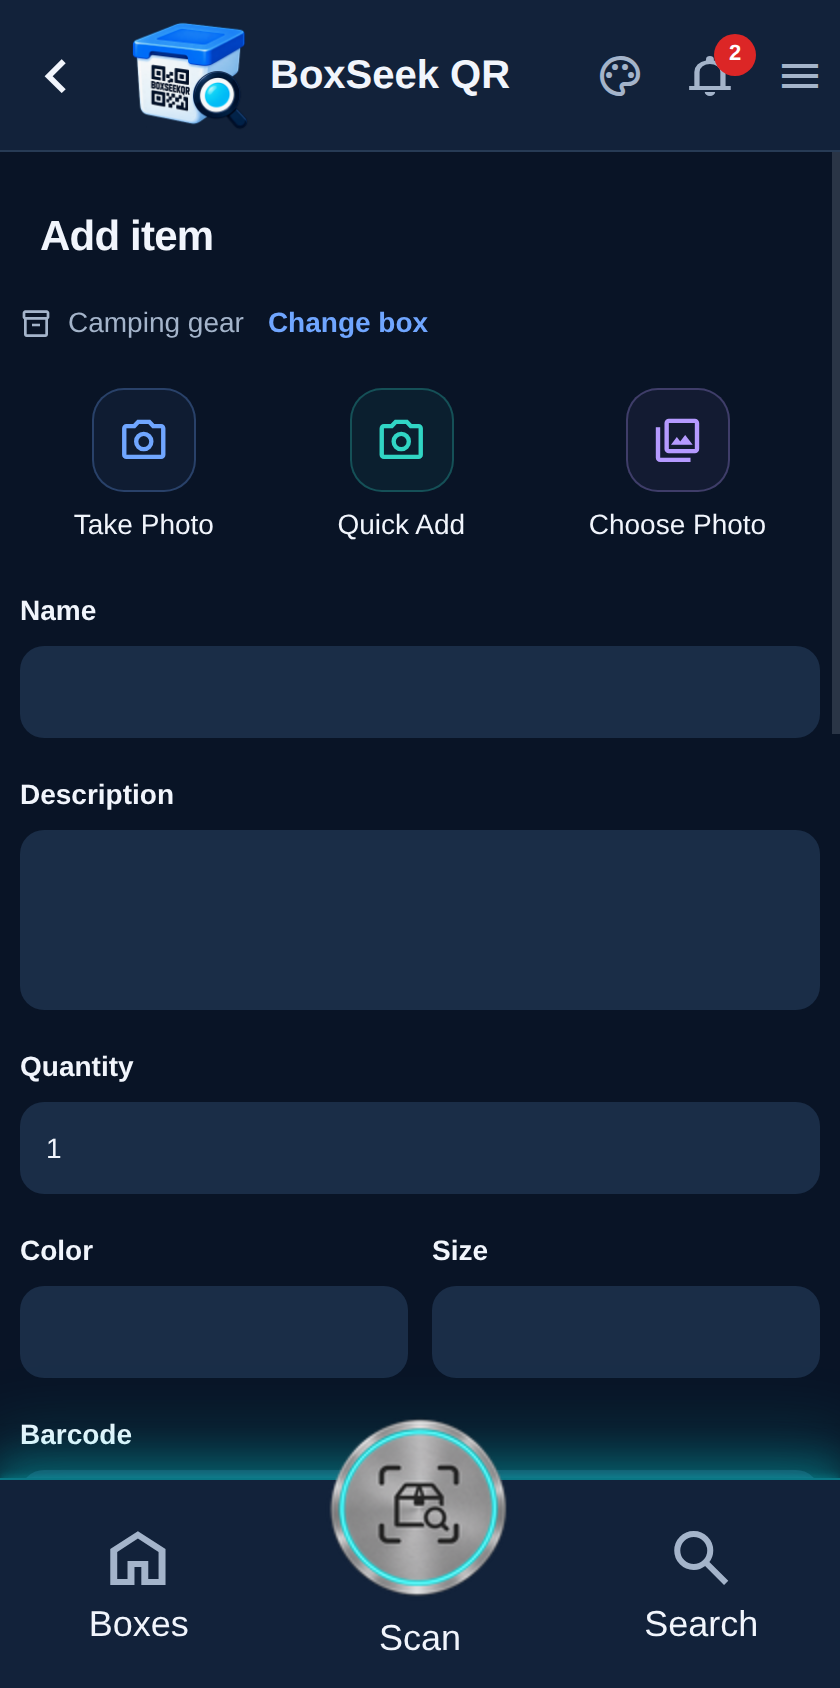
Tap Add item. At the top you can Take photo, Quick Add, or Choose photo. This tutorial uses Take photo—one picture for this one item, not Quick Add. You can save with only a name and quantity; the other fields are optional but important for Search.
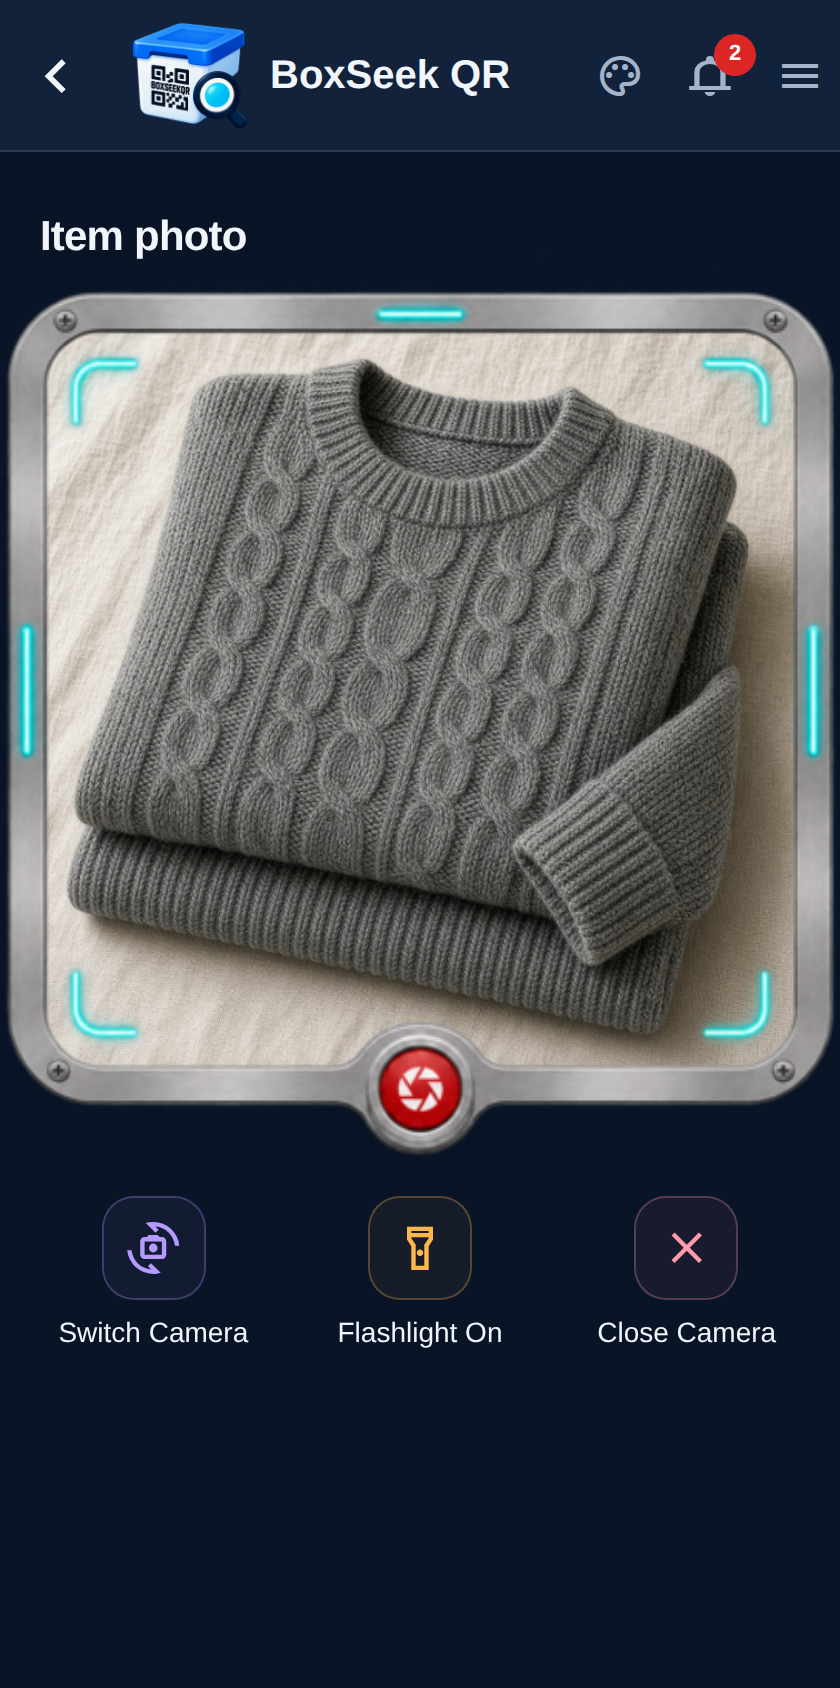
Tap Take photo. The Item photo screen opens with the camera. Frame the belonging, then use the shutter. This is not Quick Add, which is for photographing several items at once.
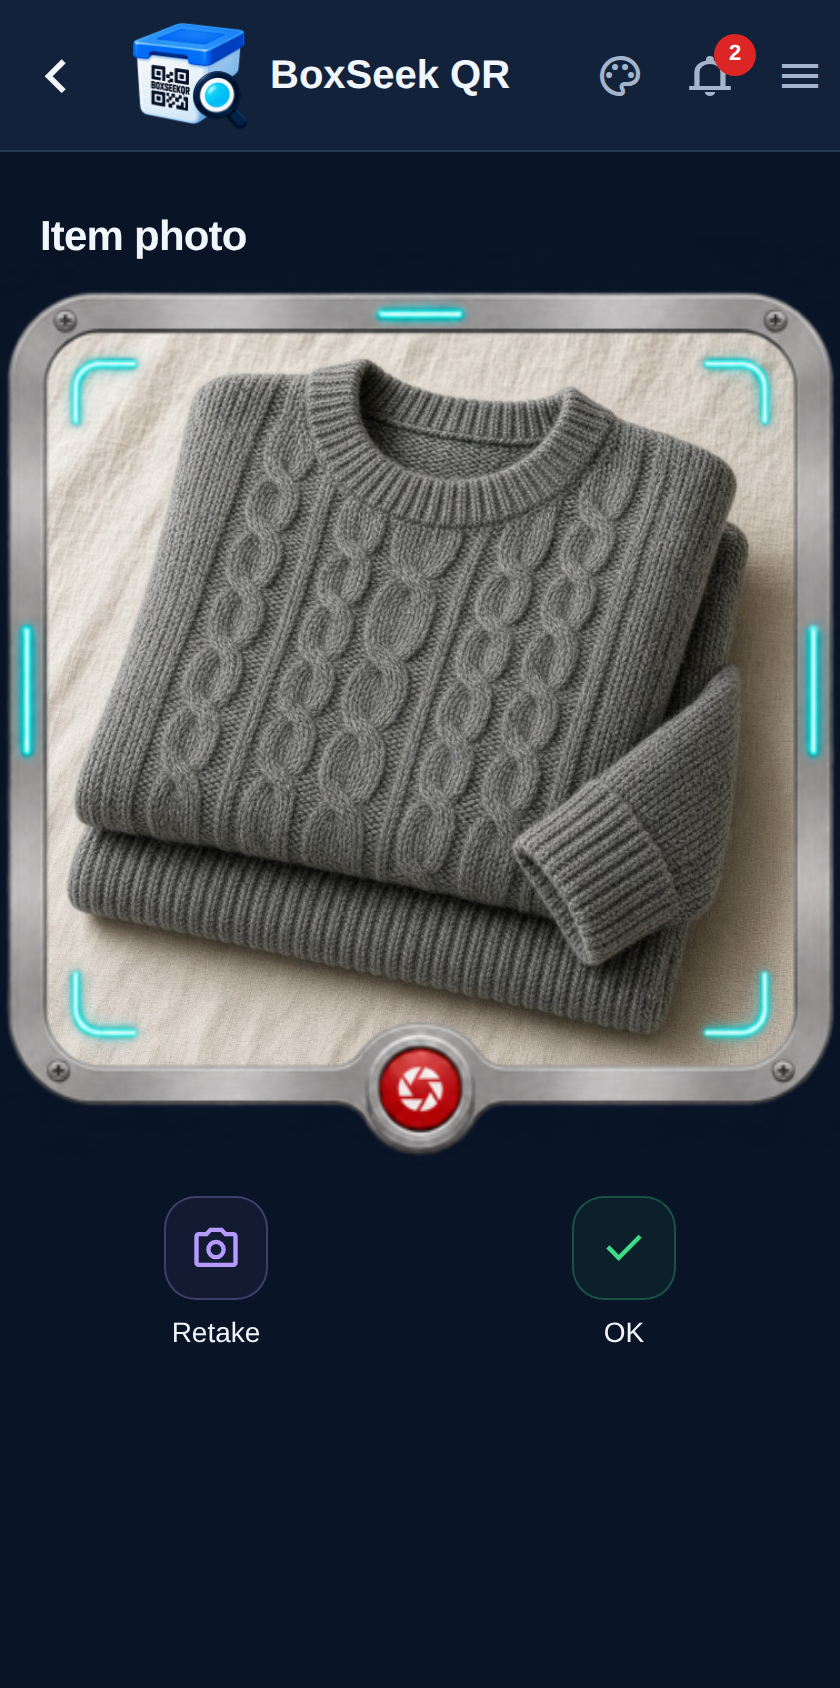
Tap the shutter. Review the still. Retake if you need another try, or tap OK to attach it to this item.
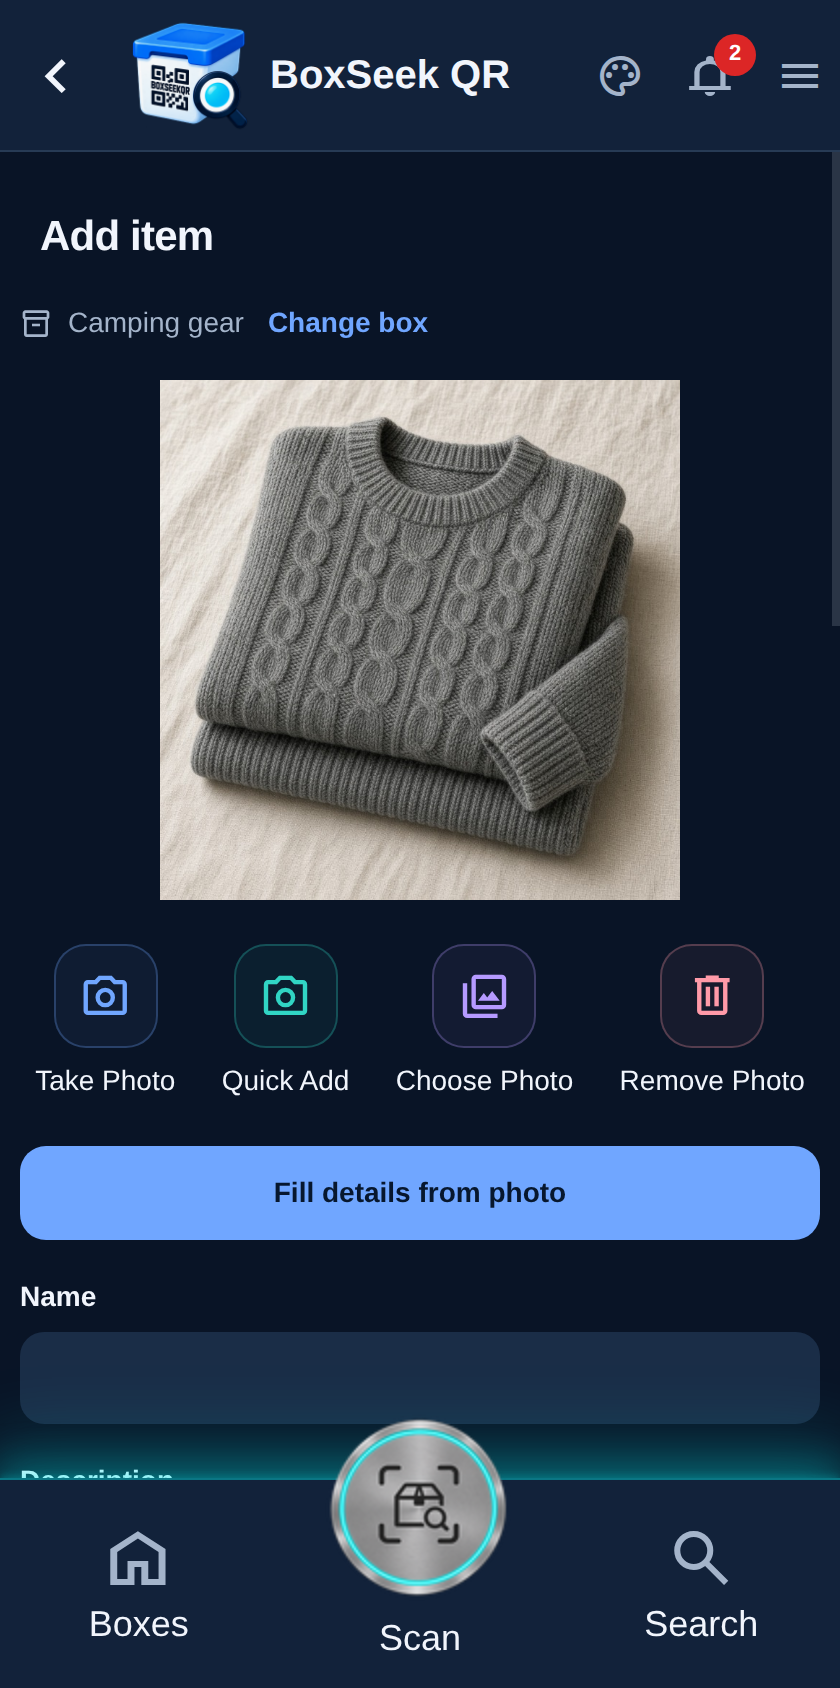
After OK, you return to Add item with the photo attached. You can Remove photo later, or use Fill details from photo if you want AI help. Here we keep typing the details ourselves.
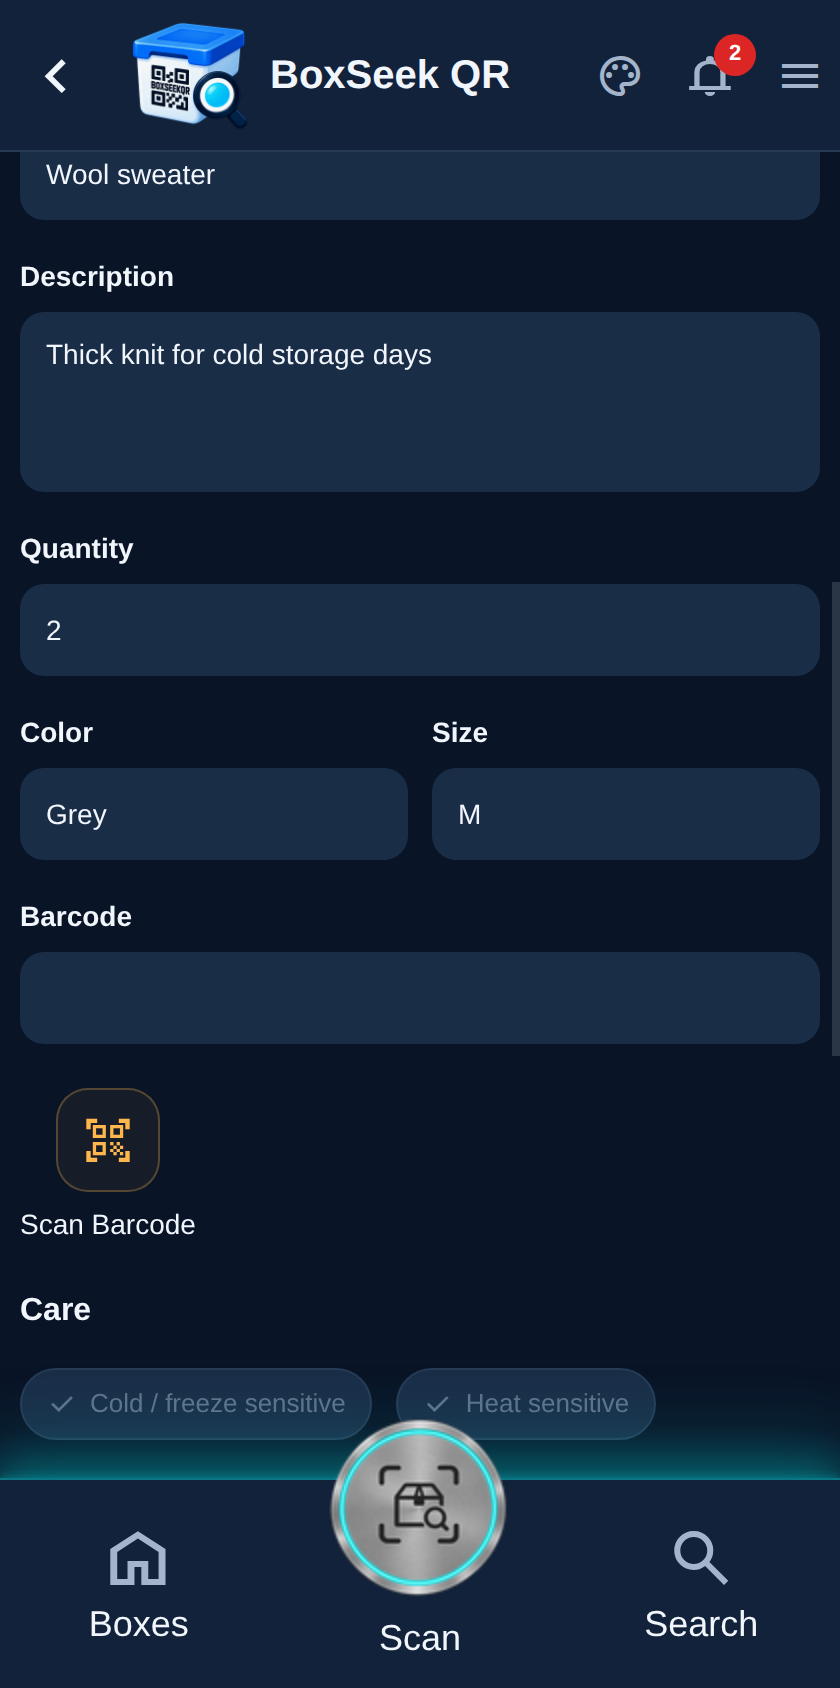
A Name and Quantity are really all you need to save an item. To make Search work well later, fill the other detail fields too—people often look by what something looks like or how they describe it, not only by the exact name.
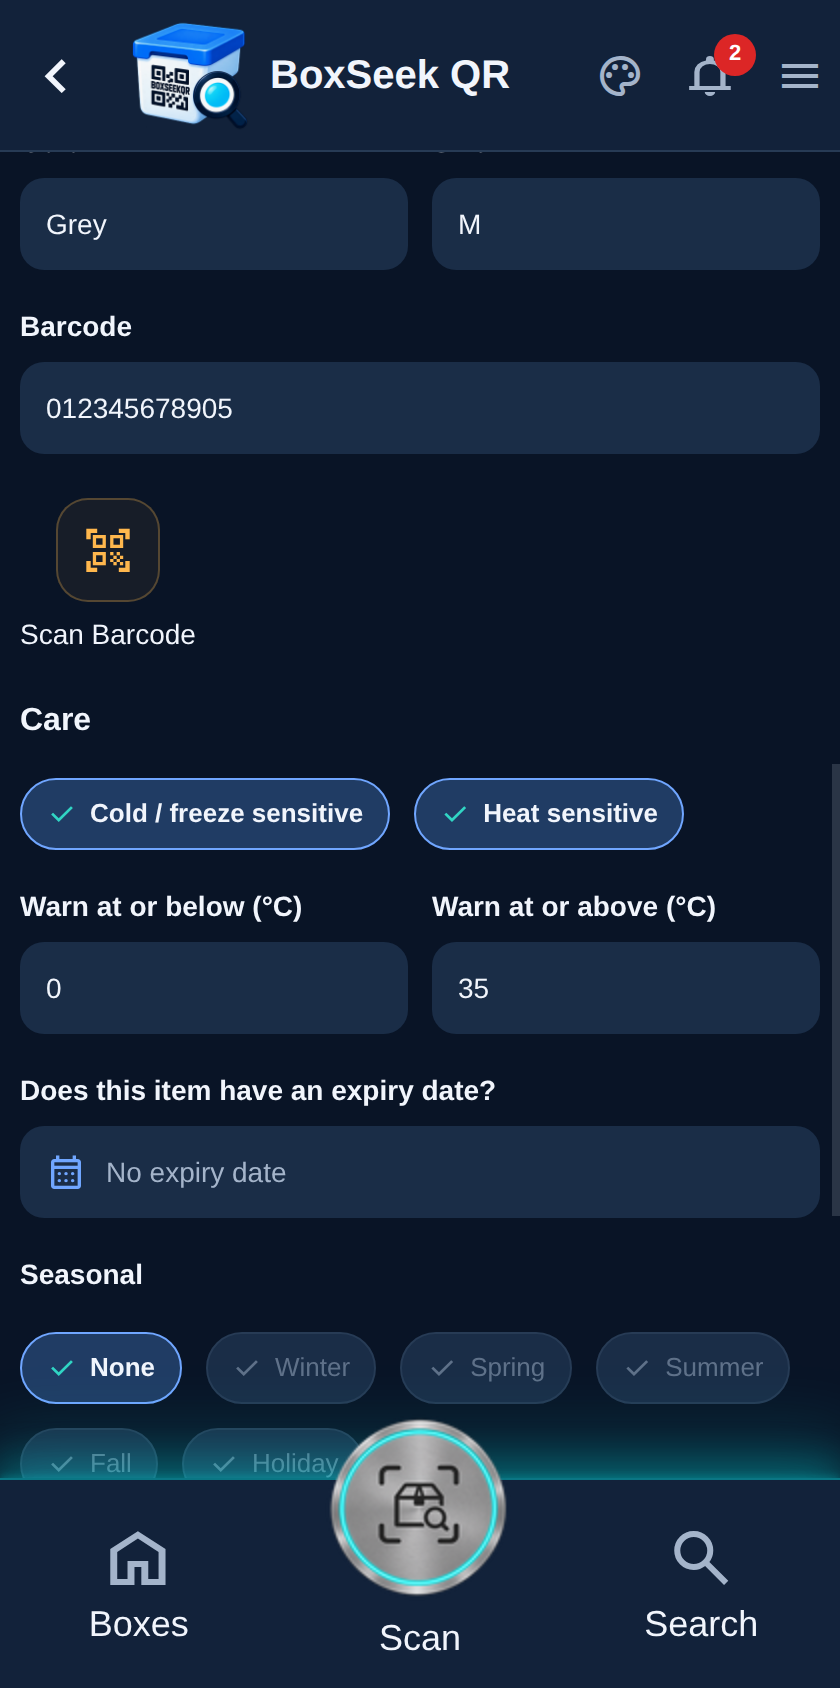
Type a Barcode, or tap Scan barcode to fill it from the camera.
Under Care, mark Cold / freeze sensitive or Heat sensitive so weather alerts can warn you. Thresholds appear when a toggle is on. Use Does this item have an expiry date? when the item expires.
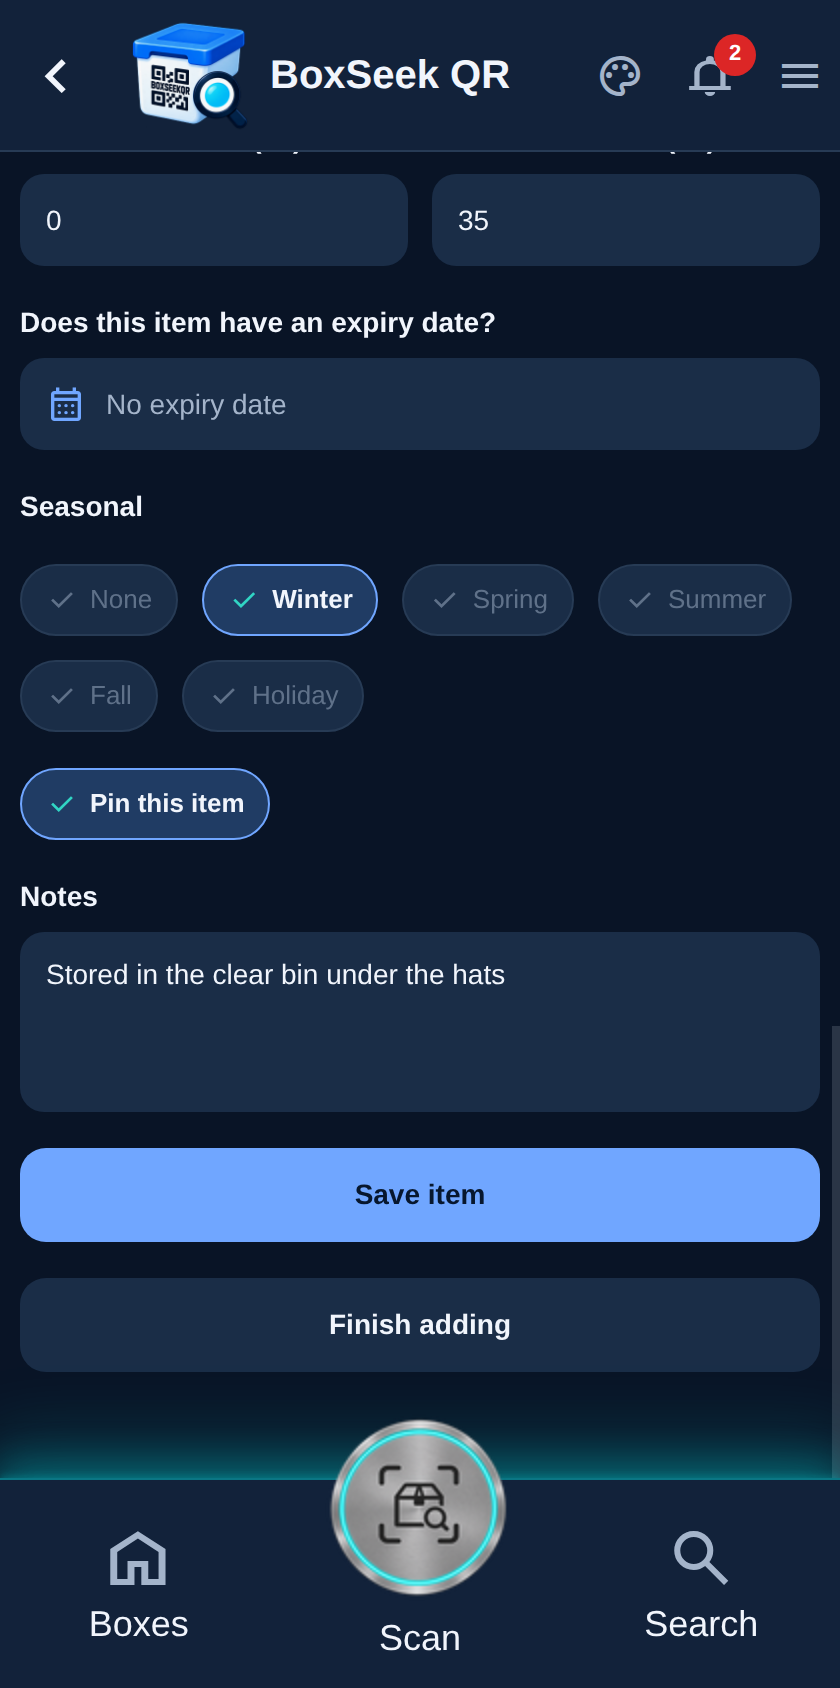
Seasonal tags (Winter, Spring, Summer, Fall, Holiday) help surface items when that season starts. Pin this item keeps it on Home. Notes are for anything else you want to remember.
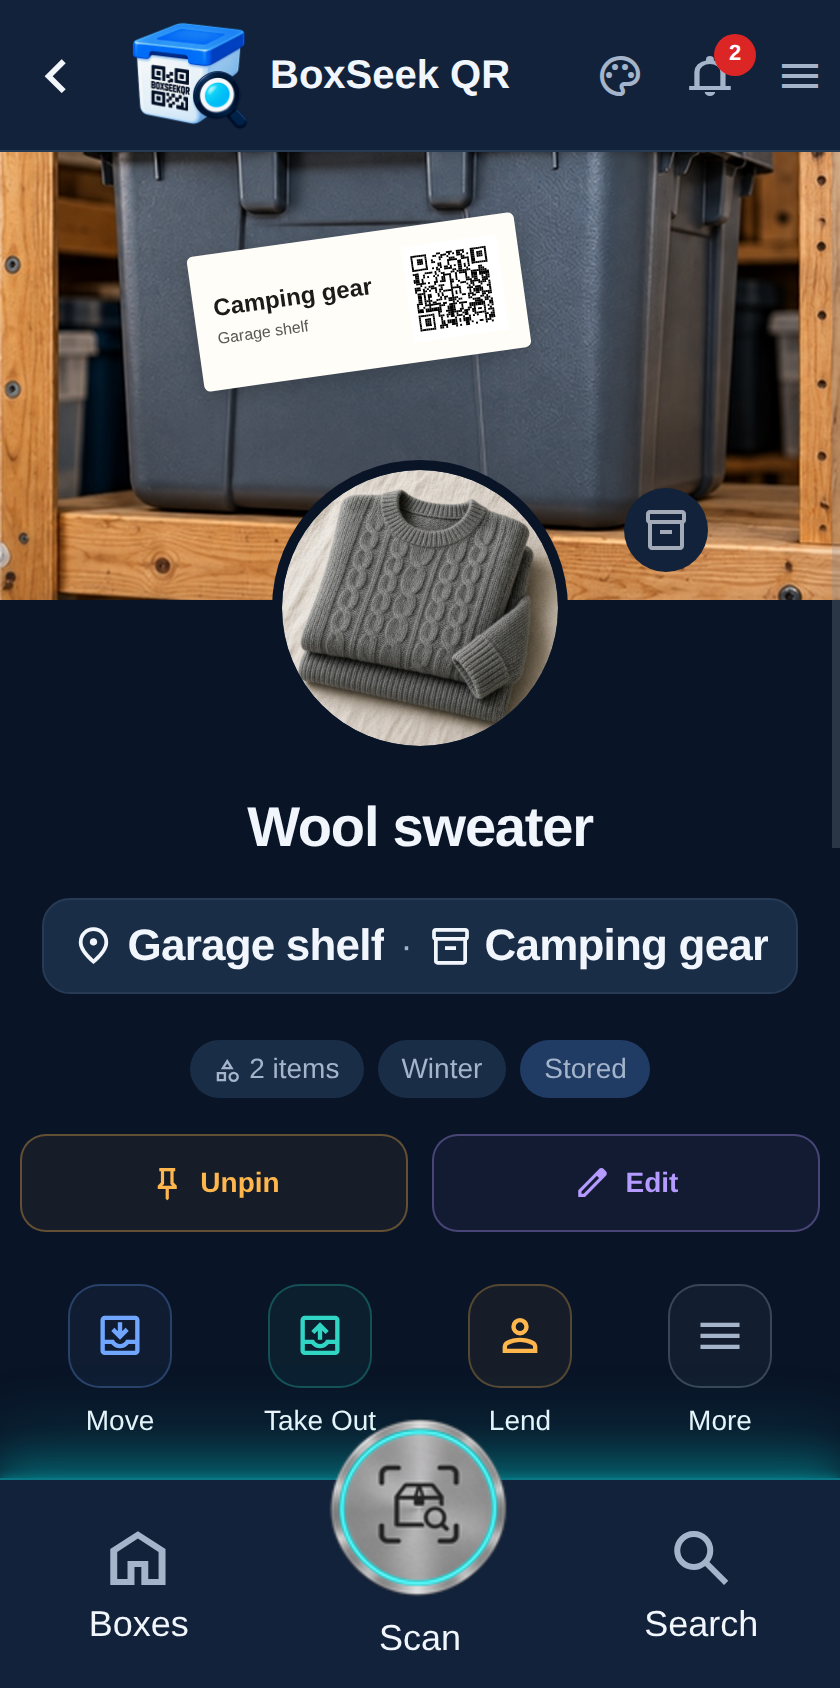
Tap Save item, then open the item. Wool sweater now lives inside Camping gear with the photo and details you entered.